
Automating Order Management Using Shopify Flow: Enhancing Maturation and Logic Handling
Introduction
To improve the logic behind fulfillment requests or add validations to prevent fraud, you can leverage Shopify Flow, a powerful automation tool available for Shopify Plus users. By integrating Flow, you can customize the conditions under which orders are fulfilled, ensuring greater control and reducing the risk of fraud. In this guide, we’ll walk you through setting up a workflow that controls fulfillment based on specific order conditions.
Step 1: Install Shopify Flow
- Visit the Shopify Flow app page: Shopify Flow.
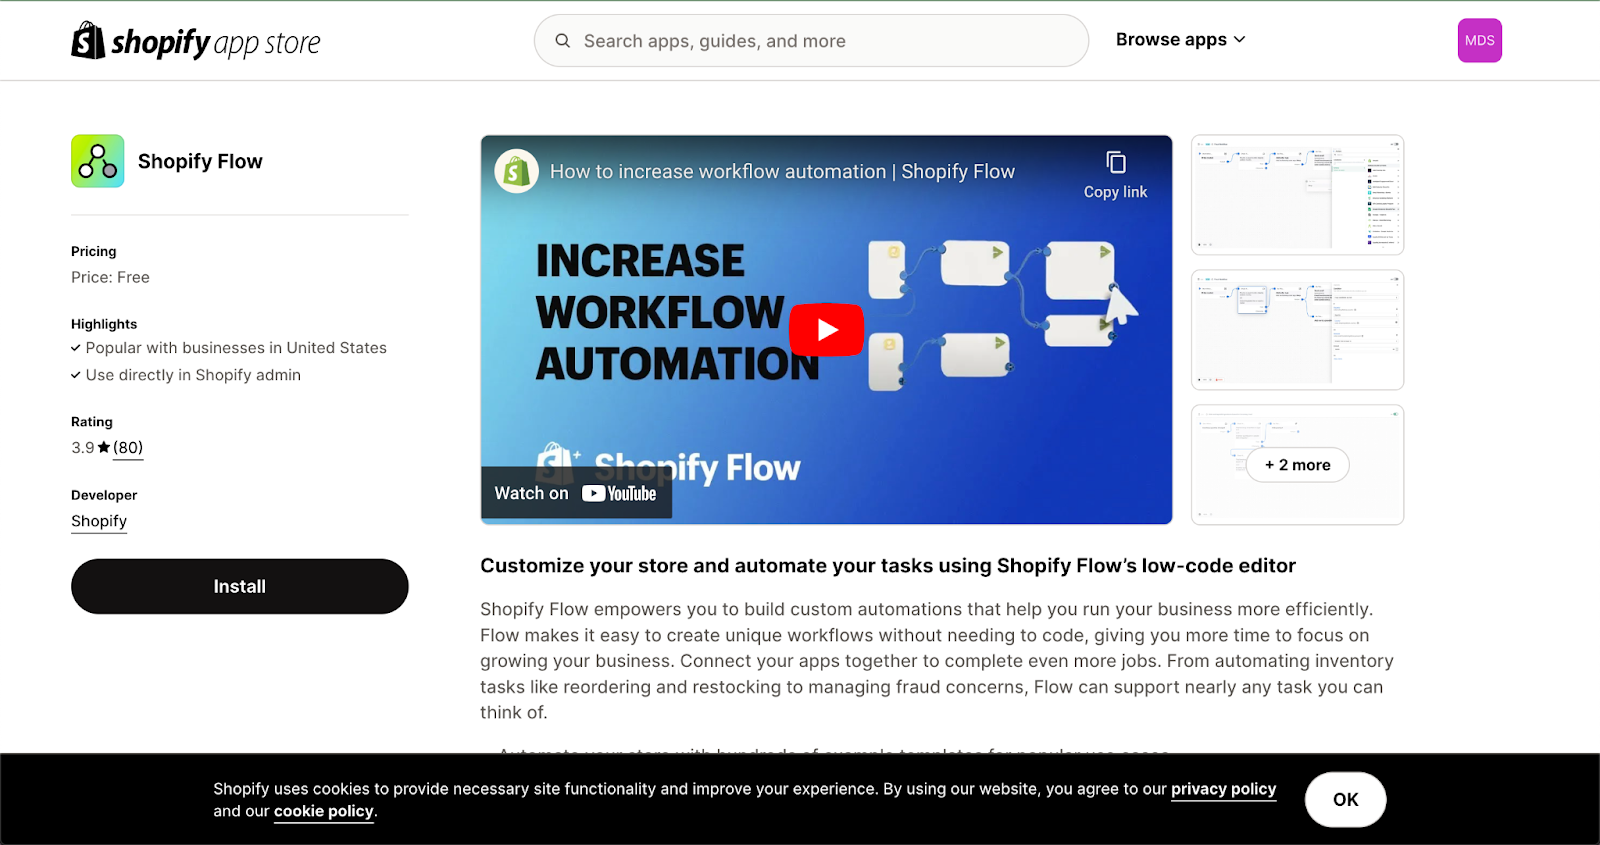
- Click Install and follow the installation instructions.

- Once installed, Flow will appear in the Shopify Admin sidebar.

Step 2: Explore Pre-Built Templates
Before diving into custom workflows, you can browse the Flow dashboard and explore the variety of pre-built templates designed to integrate easily into your store. These templates offer solutions for various scenarios, from customer notifications to inventory management, and can provide inspiration for your custom workflows.
Step 3: Disable Automatic Fulfillment in Shopify
To ensure Flow controls the fulfillment process, you'll need to disable automatic fulfillment in Shopify (if enabled from previous configurations). Follow these steps:
- Go to Settings > Order Processing in your Shopify admin panel.
- Under After an order has been paid, select Don’t fulfill any of the order’s line items automatically.

This step allows Shopify Flow to handle the logic of when fulfillment should occur.
Step 4: Create a Custom Workflow in Shopify Flow
Now, let’s build a workflow that holds fulfillment if more than 10 items of a specific SKU are ordered:
- Open Shopify Flow from your Shopify Admin.
- Click the Create Workflow button.

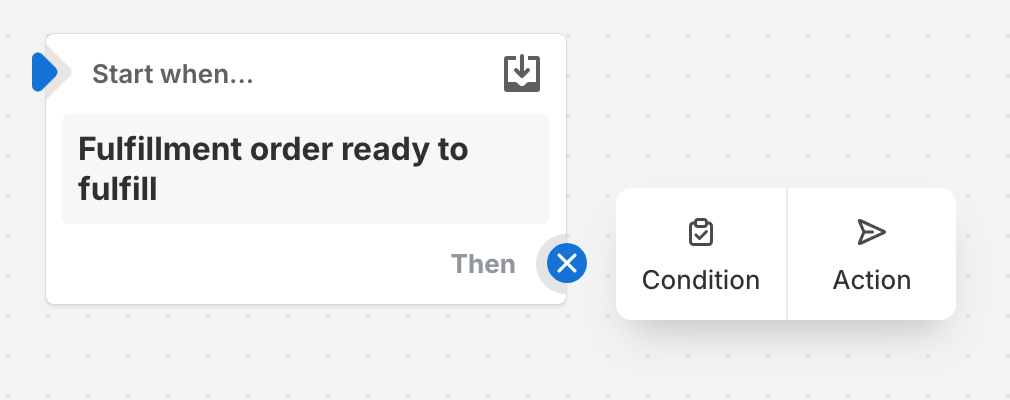
- Select a Trigger:
- In the search bar, type Fulfillment order ready to fulfill and select this trigger from the list. Learn more about this trigger here.

- Click on the THEN button and select Condition:
- In the condition panel on the right, you can add logical conditions based on your workflow’s requirements.
Step 5: Set Up Custom Logic to Control Fulfillment
For this example, we will create a condition to hold fulfillment requests if more than 10 units of a specific SKU are ordered:
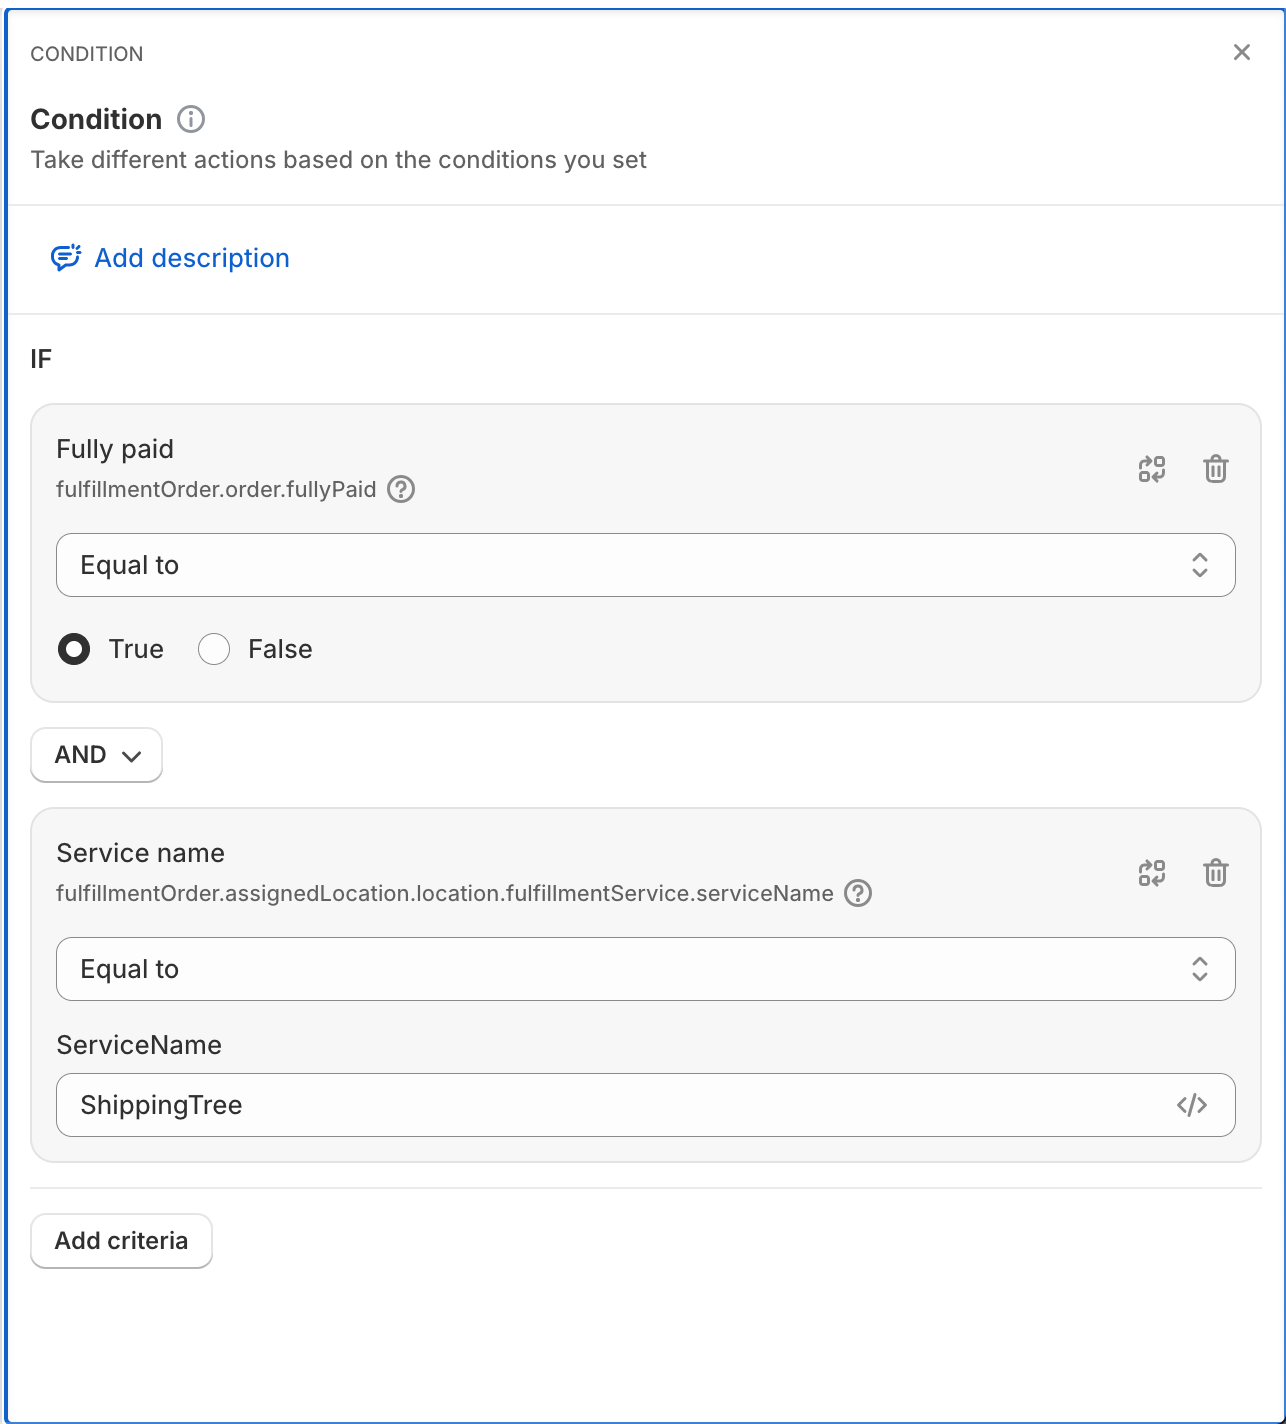
- Check if the Order is Paid:
- Set a condition to ensure the order has been paid.
- Validate the Fulfillment Service:
- Add a condition to check if the fulfillment service is ShippingTree.
- Check SKU Quantity:
- Under the Fulfillment order items, check the SKU and quantity.
- If the quantity of the SKU is greater than or equal to 10, hold the fulfillment; otherwise, proceed to submit a fulfillment request automatically.

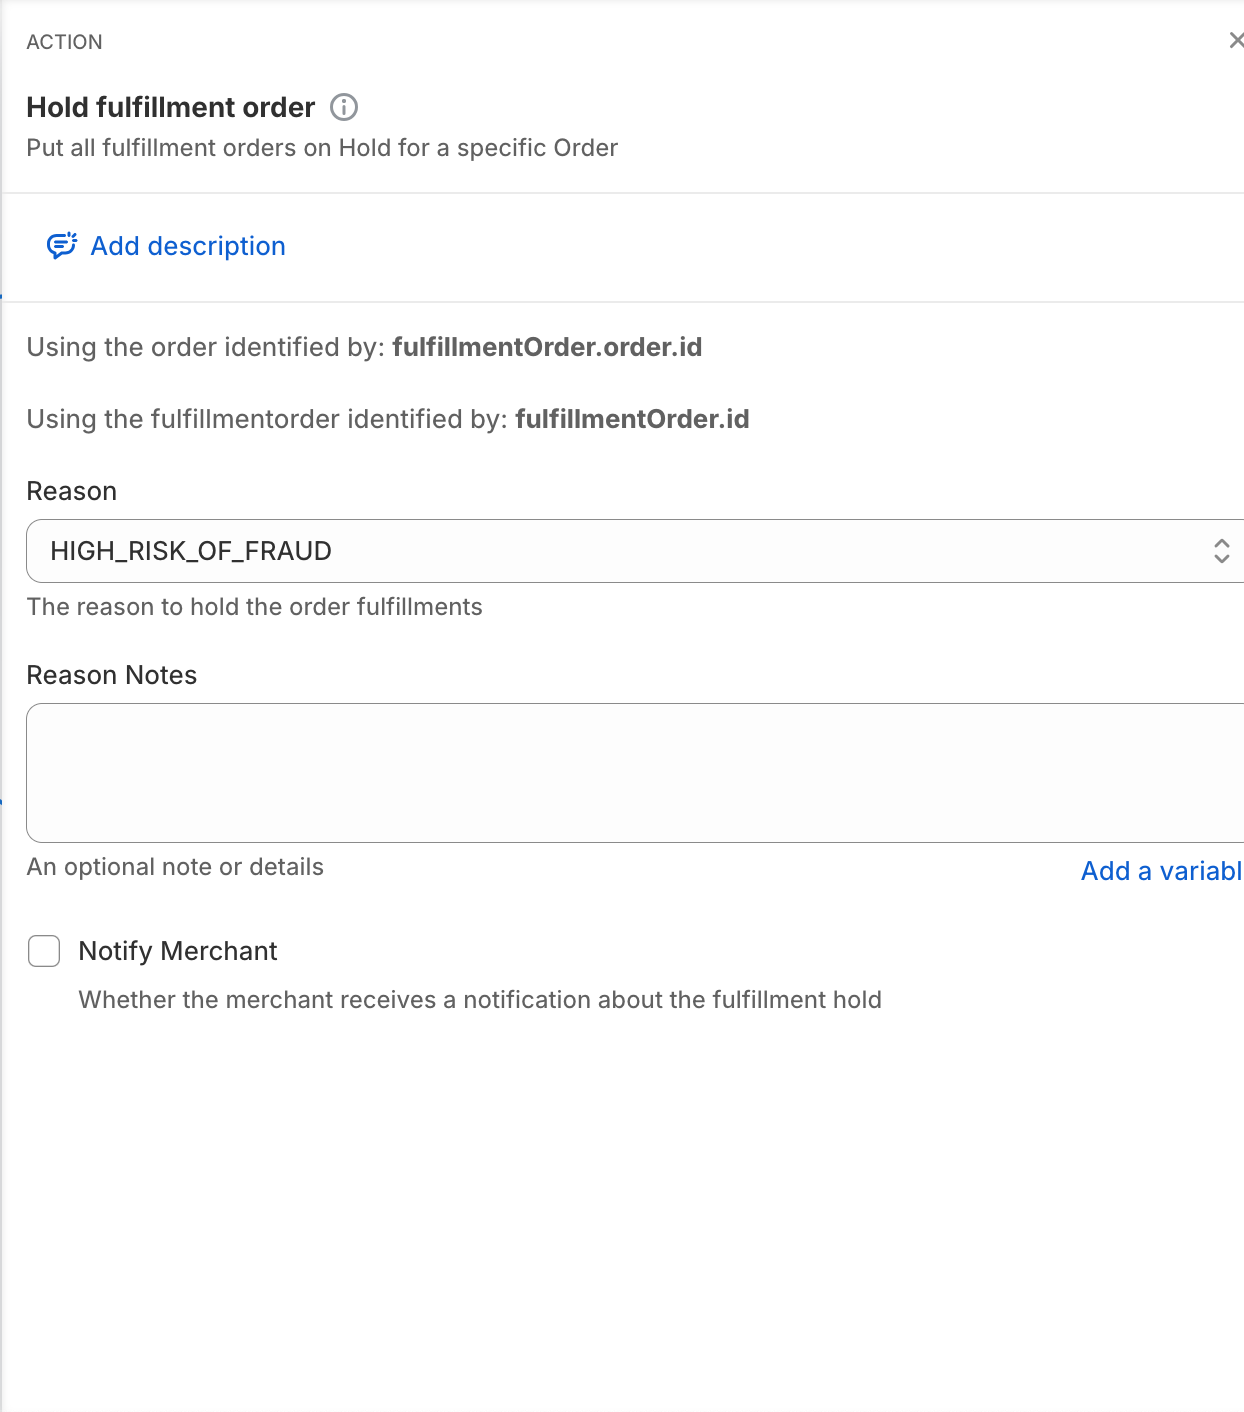
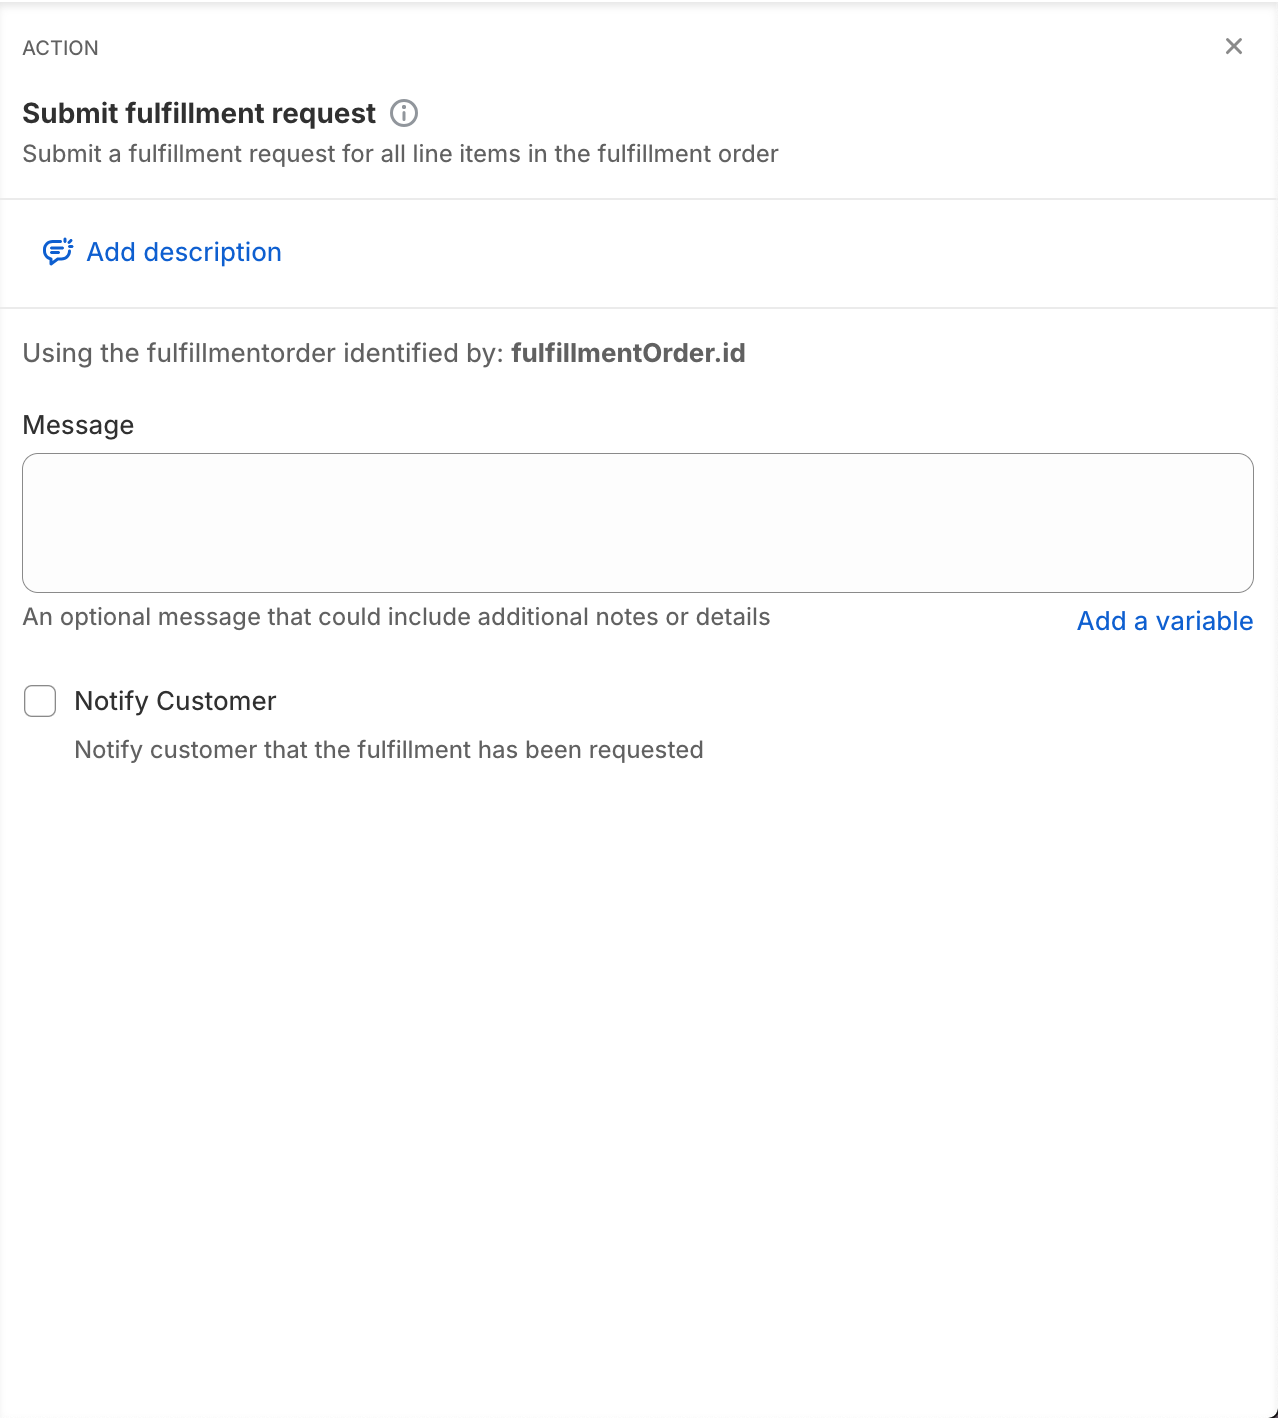
Step 6: Automate Fulfillment Requests Based on Conditions
If the conditions are met (10 or more units of the SKU and the order is paid), the fulfillment will be held for manual review. If the order contains less than 10 units, Flow will automatically send a fulfillment request to ShippingTree.
Step 7: Turn on the Workflow and Monitor Behavior
Once your workflow is set up, you’ll need to turn it on and validate its behavior:
- In the Shopify Flow dashboard, make sure the workflow is enabled.
- Place a test order that meets the specified conditions to verify how the workflow behaves.
- Monitor how Shopify Flow manages the fulfillment process to ensure it holds or submits requests based on your criteria.
By testing, you can ensure the workflow operates as expected and make any necessary adjustments.
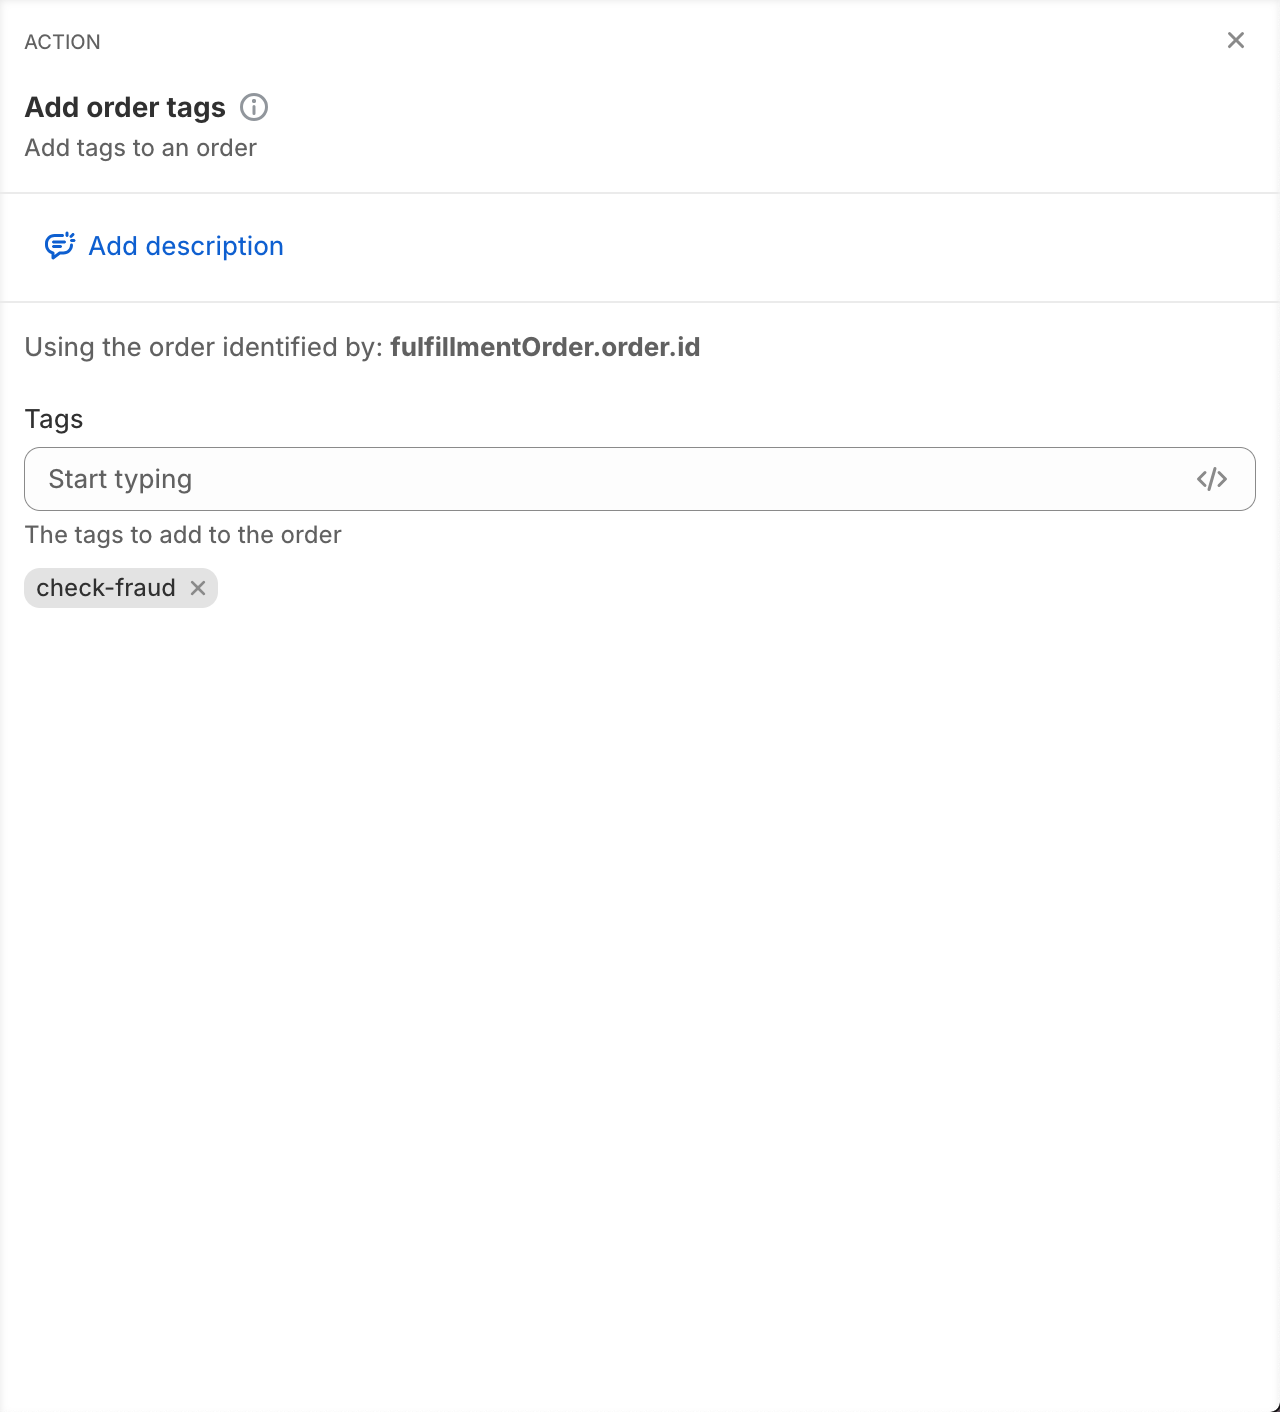
Bonus Tip: Tag Orders Needing Attention
To streamline order management, add a tag to orders that require manual review. This makes it easier to filter and prioritize orders in your Shopify Admin:
- Under the THEN section, add an action to Tag order.
- Assign a tag like "Requires Attention" to flag the order for further inspection.
As a result, the workflow can be visualized in the following diagram:
